Acne is a common skin condition that affects millions of people around the world. It can cause inflammation, redness, pimples, and scars on the face and other parts of the body. Acne can be triggered by various factors, such as hormones, stress, diet, genetics, and bacteria.
One way to prevent and treat acne is to use a toner. A toner is a liquid product that is applied to the skin after cleansing. It helps to remove any leftover dirt, oil, and makeup, as well as balance the skin’s pH level, which can affect its health and appearance. A toner can also provide additional benefits, such as soothing, hydrating, brightening, and exfoliating the skin.
However, not all toners are created equal. Some commercial toners may contain harsh chemicals, alcohol, or artificial fragrances that can irritate or dry out the skin, especially if it is sensitive or acne-prone. That’s why many people prefer to make their own DIY toners at home, using natural ingredients that are gentle, effective, and affordable.
In this blog post, we will share some of the best DIY toners for acne that you can easily make at home. We will also answer some frequently asked questions about toners and how to use them properly.
What are the benefits of DIY toners for acne?
DIY toners for acne have several advantages over store-bought ones. Here are some of them:
- You can customize the ingredients to suit your skin type and needs. For example, you can choose ingredients that are anti-inflammatory, antibacterial, moisturizing, or exfoliating, depending on what your skin needs.
- You can avoid harmful or irritating ingredients that may worsen your acne or cause allergic reactions. For example, you can avoid alcohol, which can dry out and damage the skin barrier, or artificial fragrances, which can trigger inflammation and sensitivity.
- You can save money and reduce waste. Making your own toner is cheaper than buying a ready-made one, and you can use reusable containers or spray bottles to store and apply it. You can also use ingredients that you already have in your kitchen or garden, or buy them in bulk or organic versions.
How to make DIY toners for acne?
Making your own toner for acne is very easy and simple. All you need are some natural ingredients, a measuring cup or spoon, a mixing bowl, a funnel, and a glass jar or spray bottle. Here are the basic steps to follow:
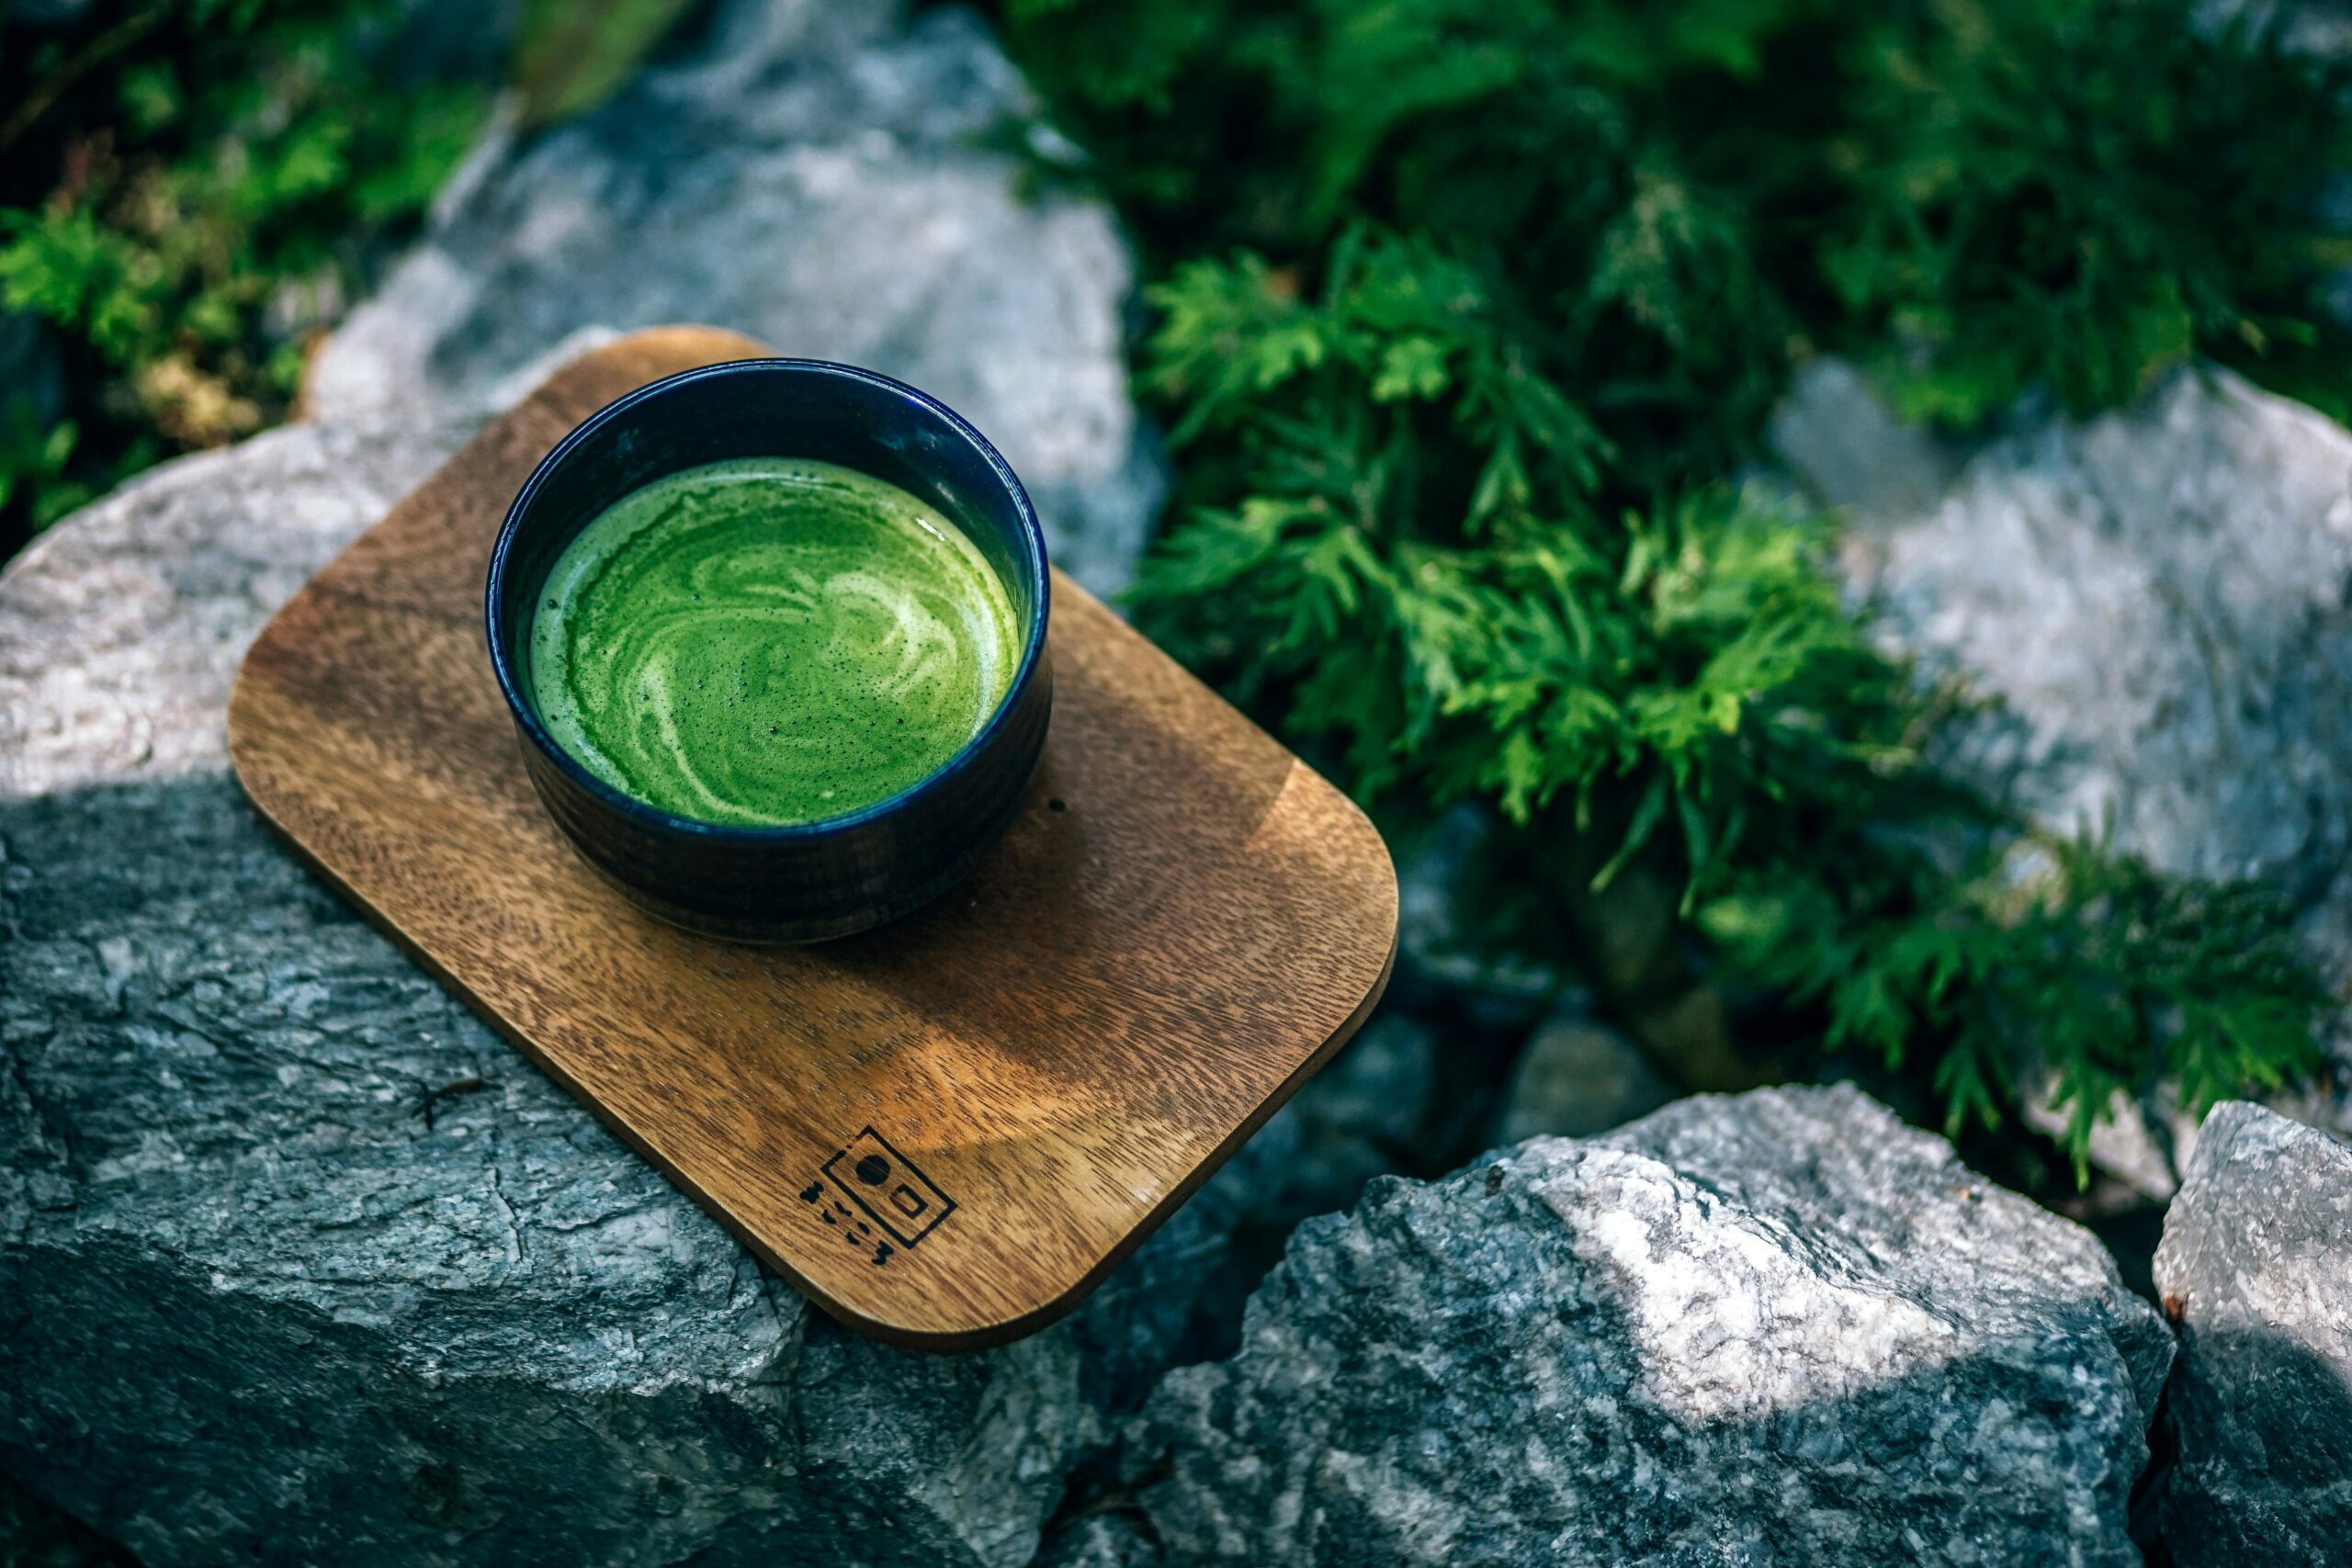
- Choose your base ingredient. This is the main liquid that will make up your toner. It should be gentle, hydrating, and pH-balancing. Some of the best options are distilled water, rose water, green tea, or aloe vera juice.
- Choose your active ingredient. This is the ingredient that will target your acne and provide additional benefits. It should be anti-inflammatory, antibacterial, or exfoliating. Some of the best options are apple cider vinegar, witch hazel, tea tree oil, or lemon juice.
- Mix the ingredients together. Depending on the strength and concentration of your active ingredient, you may need to dilute it with your base ingredient. For example, if you are using apple cider vinegar, you may want to mix it with water in a 1:4 ratio. If you are using tea tree oil, you may want to add only a few drops to your base ingredient. You can also add other ingredients, such as essential oils, honey, or glycerin, to enhance the scent, texture, or effectiveness of your toner.
- Transfer the mixture to a container. Use a funnel to pour the toner into a glass jar or spray bottle. Make sure the container is clean and sterilized, and label it with the ingredients and the date of preparation.
- Store the toner in the refrigerator. Since DIY toners do not have any preservatives, they can spoil or grow bacteria over time. To extend their shelf life and keep them fresh, store them in the refrigerator and use them within 2 to 3 days. You can also freeze them in ice cube trays and thaw them as needed.
How to use DIY toners for acne?
Using a DIY toner for acne is very simple and straightforward. Here are the steps to follow:
- Wash your face with a gentle cleanser. This will remove any dirt, oil, and makeup from your skin and prepare it for the toner. Pat your face dry with a soft towel.
- Apply the toner to your face. You can either spray it directly onto your face or use a cotton pad to dab it onto your skin. Avoid the eye area and any open wounds or cuts. You do not need to rinse off the toner, as it will absorb into your skin and work its magic.
- Apply your moisturizer and other products. After applying the toner, wait for a few minutes until it dries, then apply your moisturizer and any other products you use, such as serum, sunscreen, or makeup. The toner will help your skin absorb the products better and lock in the moisture.
FAQs about DIY toners for acne
Here are some of the most common questions and answers about DIY toners for acne:
- Q: How often should I use a DIY toner for acne?
- A: You can use a DIY toner for acne twice a day, in the morning and at night, after cleansing your face and before applying your moisturizer. However, if your skin is very sensitive or dry, you may want to use it only once a day or every other day, to avoid over-drying or irritating your skin.
- Q: Which DIY toner is best for my skin type?
- A: Different DIY toners may suit different skin types, depending on the ingredients and their effects. Here are some general guidelines to help you choose the best DIY toner for your skin type:
- If you have oily or combination skin, you may want to use a DIY toner that is astringent, antibacterial, and exfoliating, to help control the excess oil, prevent breakouts, and unclog the pores. Some of the best ingredients for this skin type are apple cider vinegar, witch hazel, tea tree oil, and lemon juice.
- If you have dry or normal skin, you may want to use a DIY toner that is hydrating, soothing, and brightening, to help moisturize, calm, and enhance your skin. Some of the best ingredients for this skin type are rose water, green tea, aloe vera, and honey.
- If you have sensitive skin, you may want to use a DIY toner that is gentle, anti-inflammatory, and pH-balancing, to help reduce redness, irritation, and inflammation. Some of the best ingredients for this skin type are chamomile, cucumber, lavender, and glycerin.
- Q: Can I use more than one active ingredient in my DIY toner?
- A: Yes, you can use more than one active ingredient in your DIY toner, as long as they are compatible and do not cause any adverse reactions. For example, you can mix apple cider vinegar and tea tree oil, or witch hazel and lemon juice, to create a more potent and effective toner. However, you should always do a patch test before applying any new ingredient or combination to your face, to make sure you are not allergic or sensitive to it.
Conclusion
DIY toners for acne are a great way to take care of your skin naturally, without spending a lot of money or exposing your skin to harsh chemicals. By making your own toner at home, you can customize the ingredients to suit your skin type and needs, and enjoy the benefits of natural skin care.
We hope this blog post has given you some useful information and inspiration on how to make and use DIY toners for acne. If you have any questions, comments, or suggestions, feel free to leave them below. We would love to hear from you. Thank you for reading and happy toning!

 By
Beauty Adams


